Original: $29.99
-65%$29.99
$10.50The Story
Description:
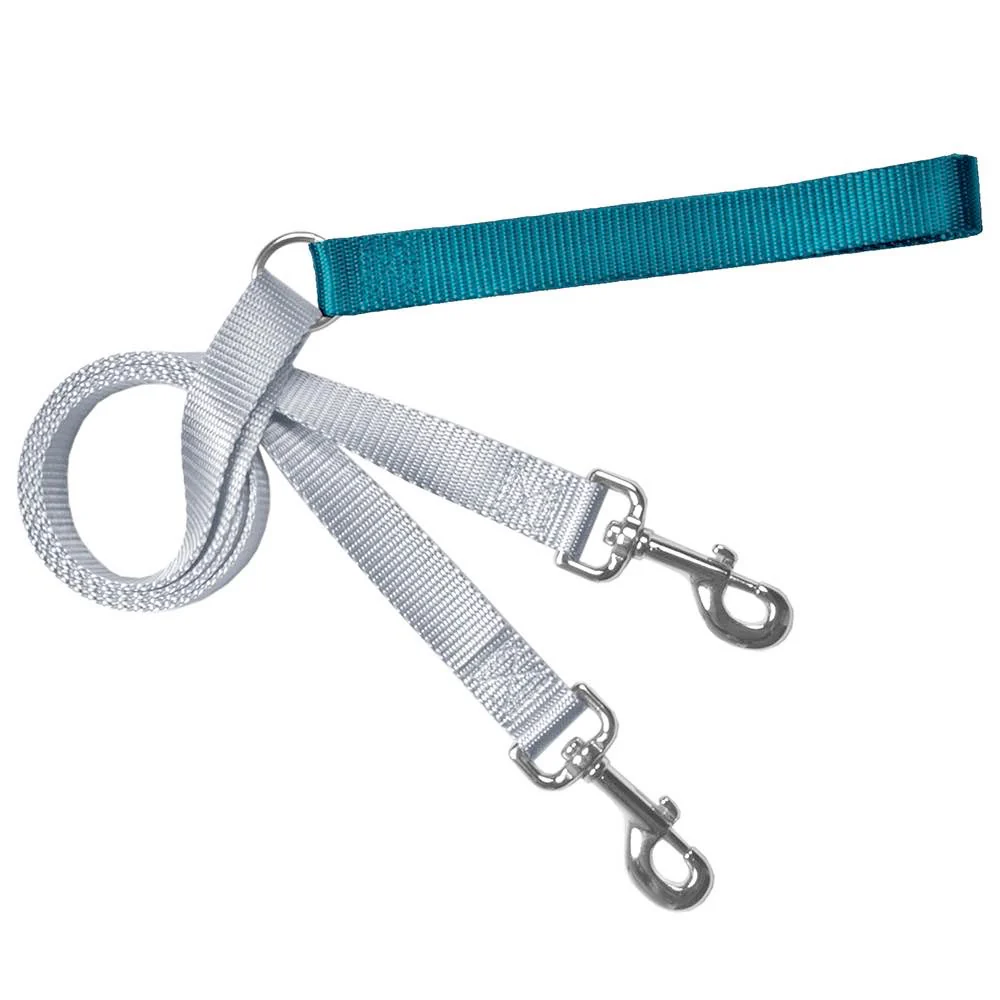
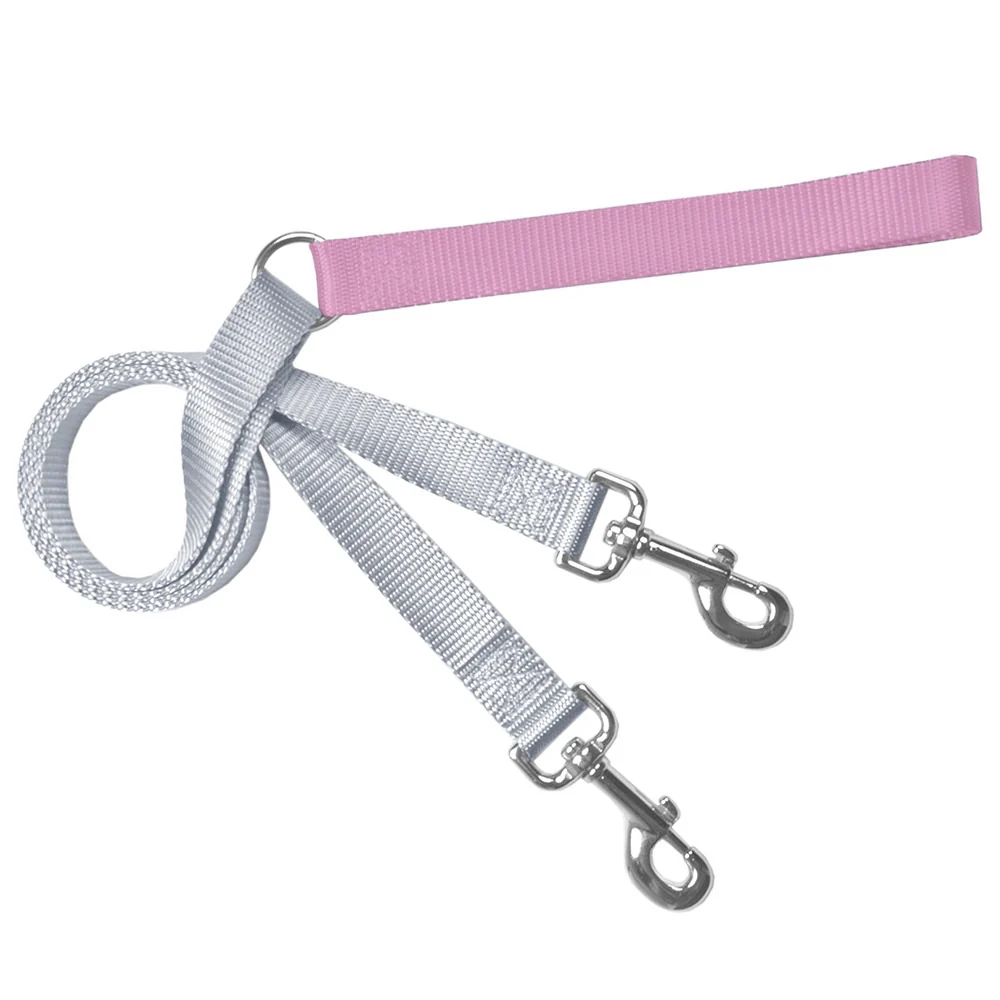
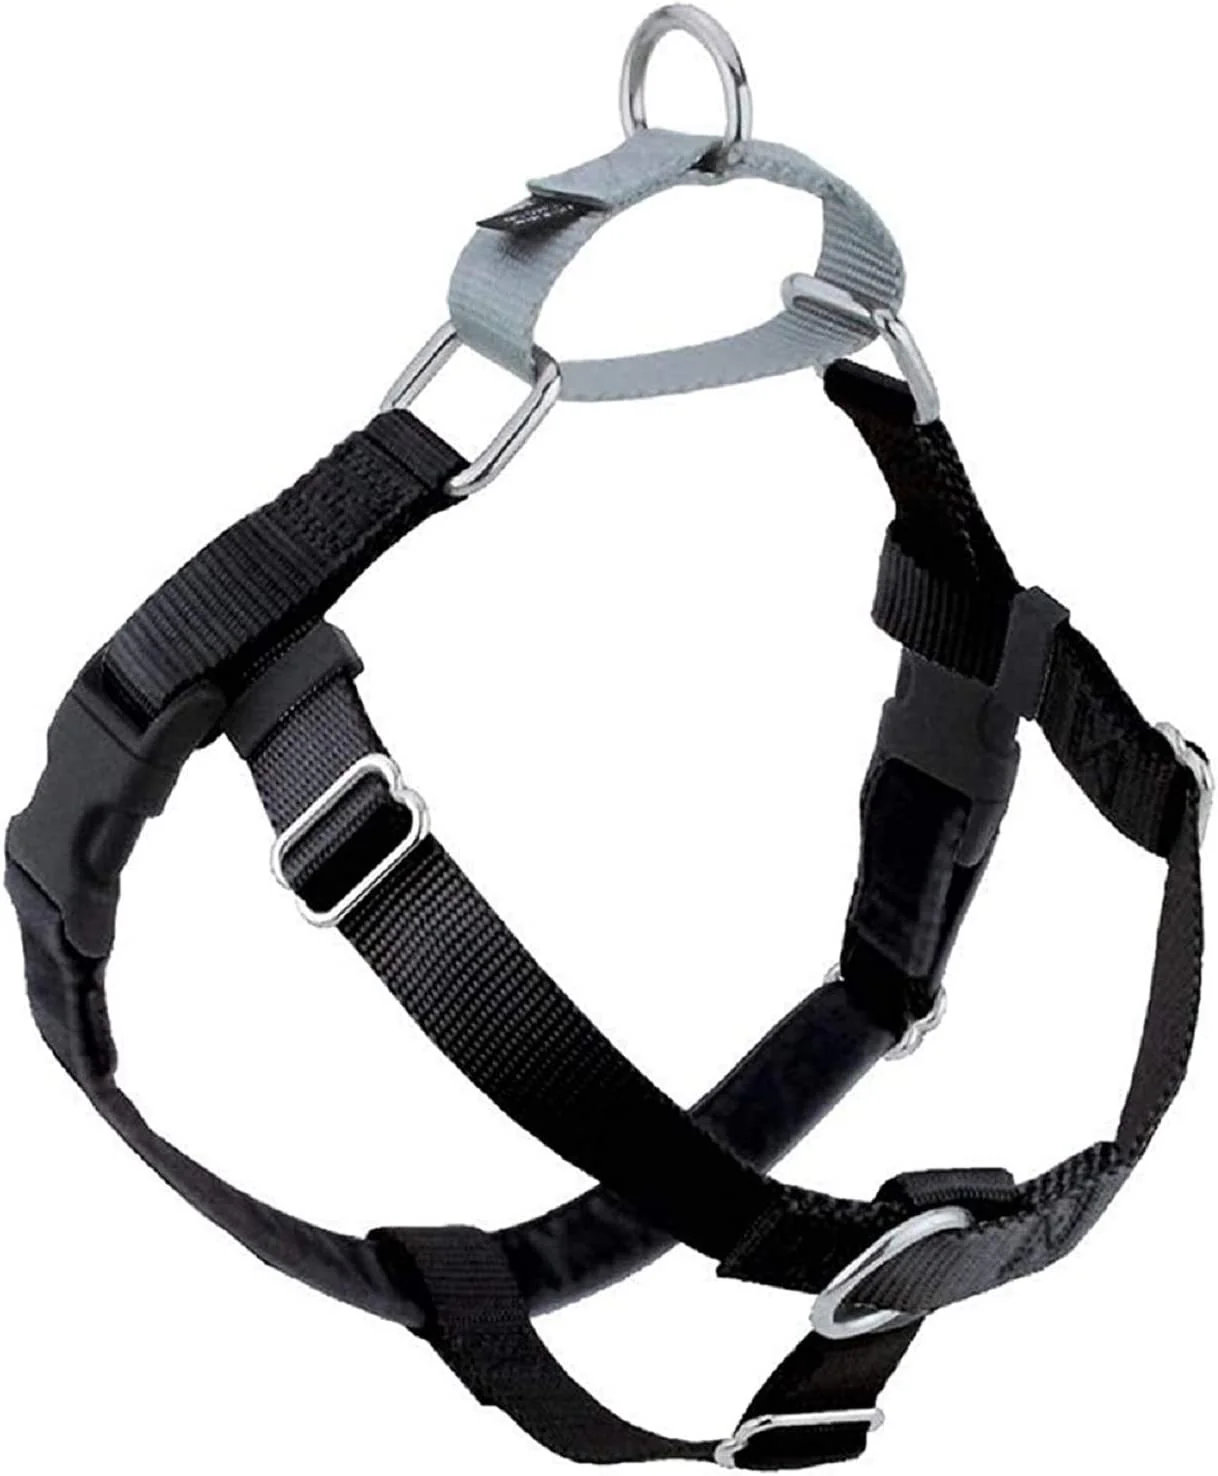
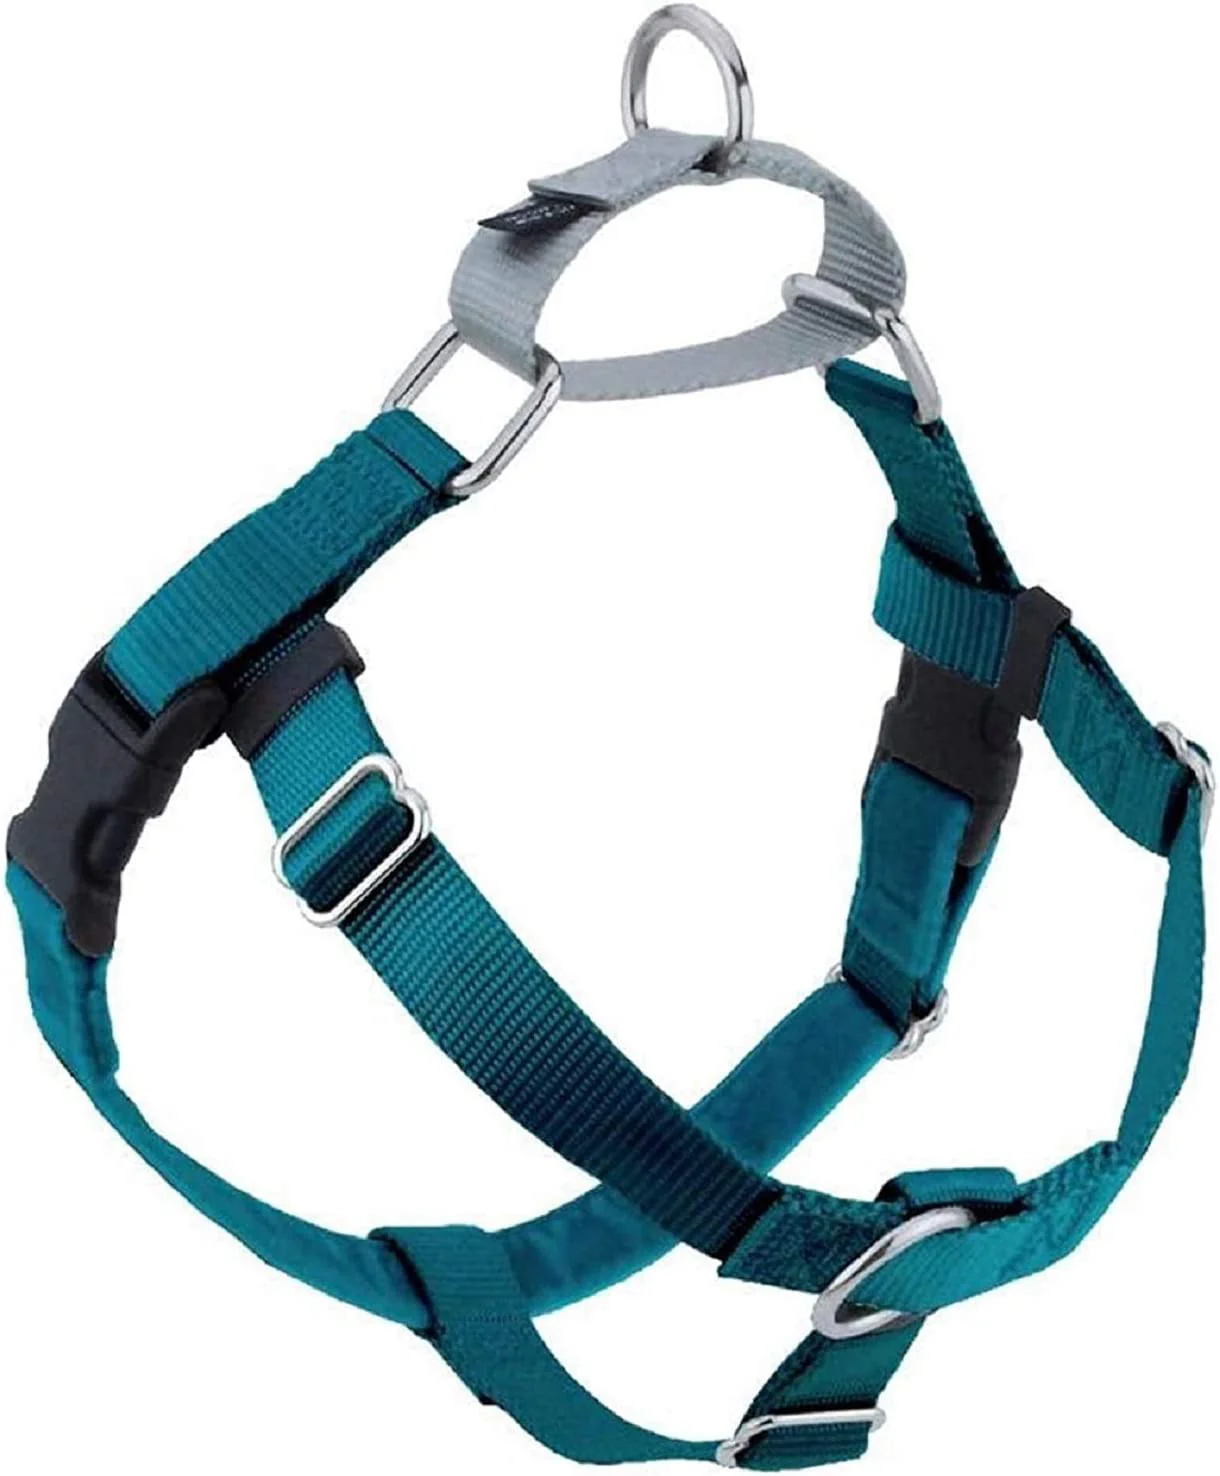
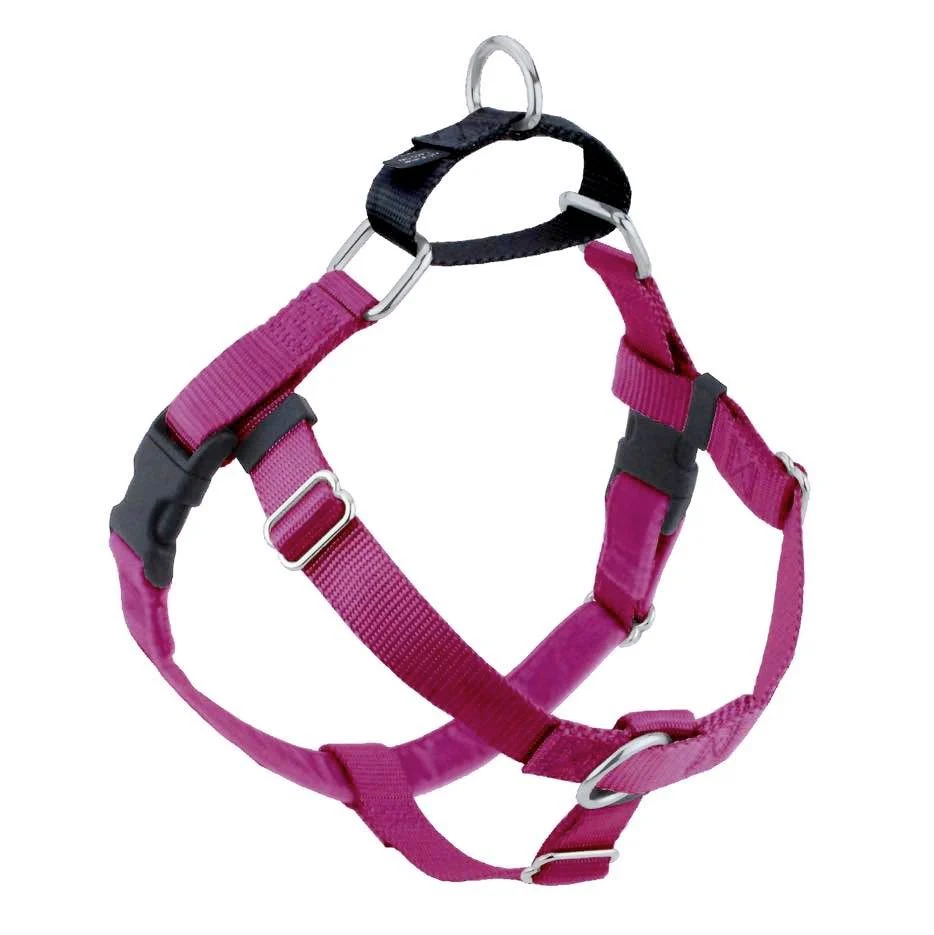
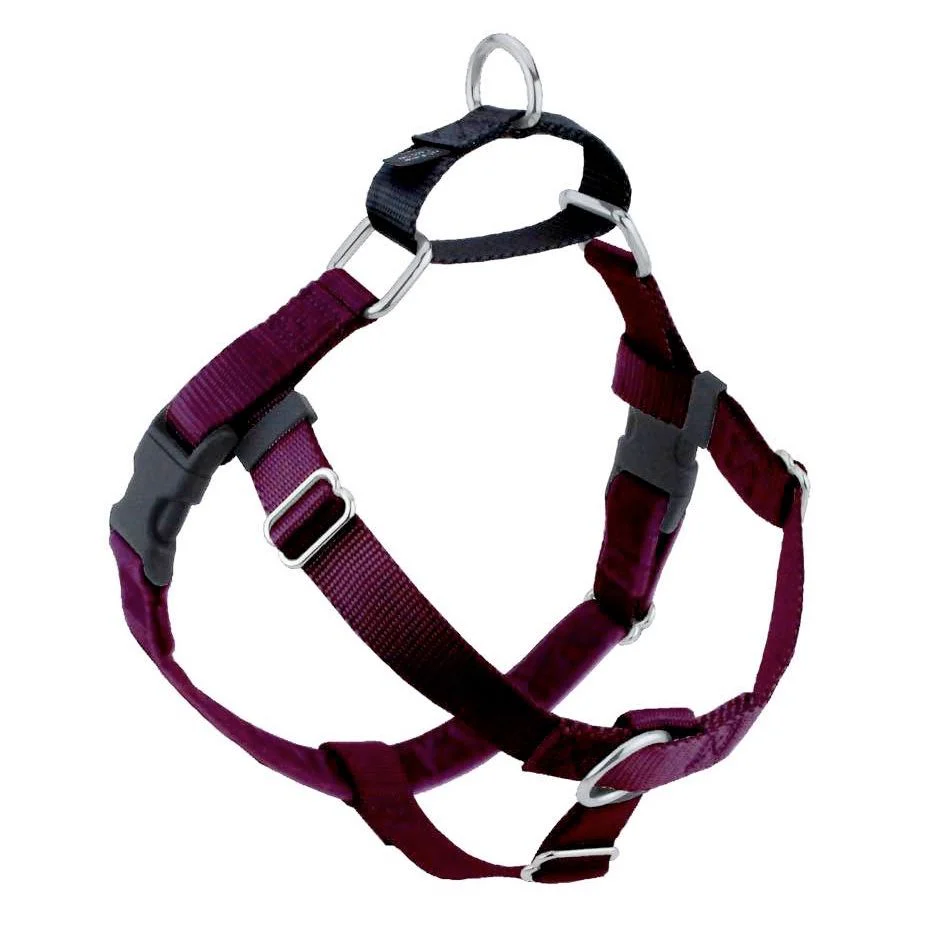
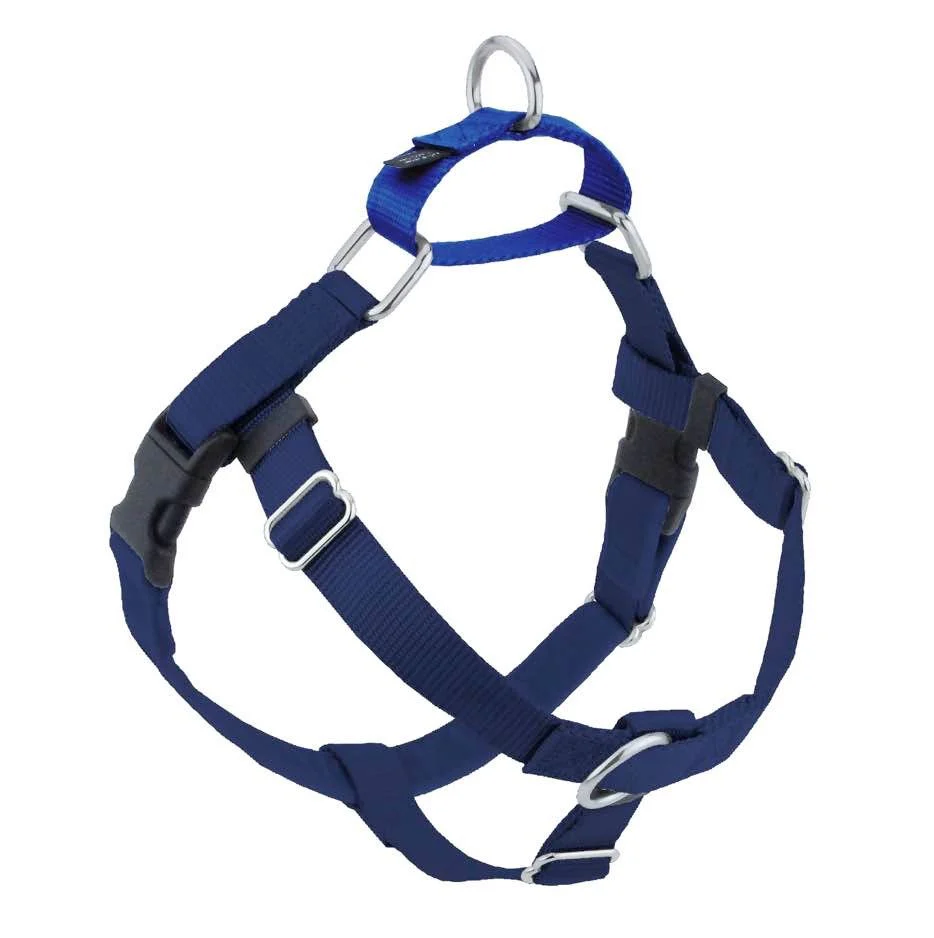
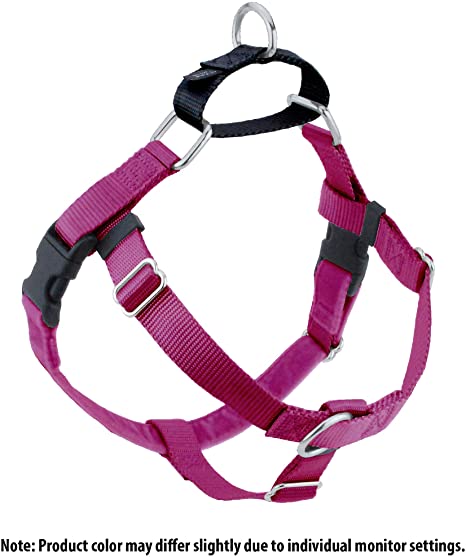
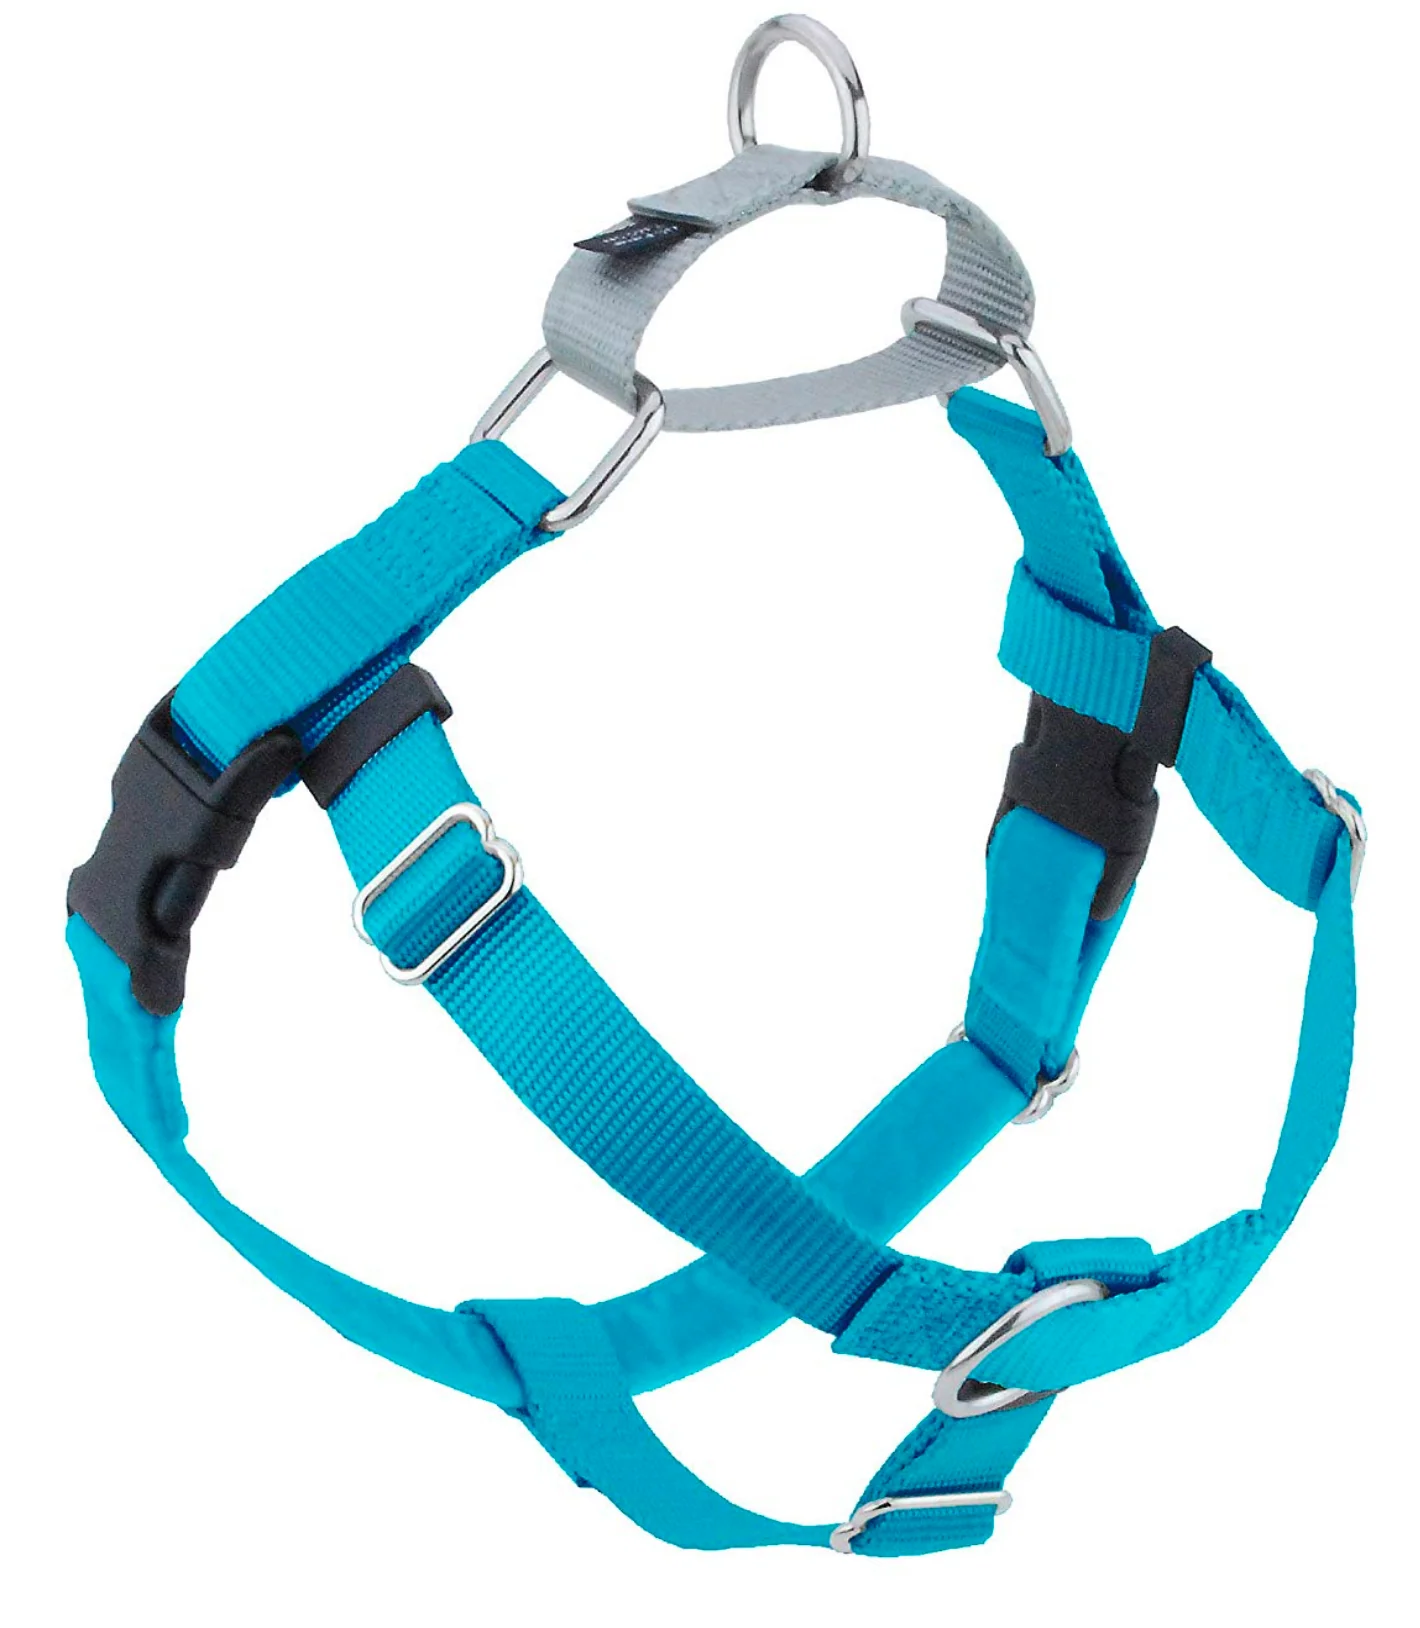
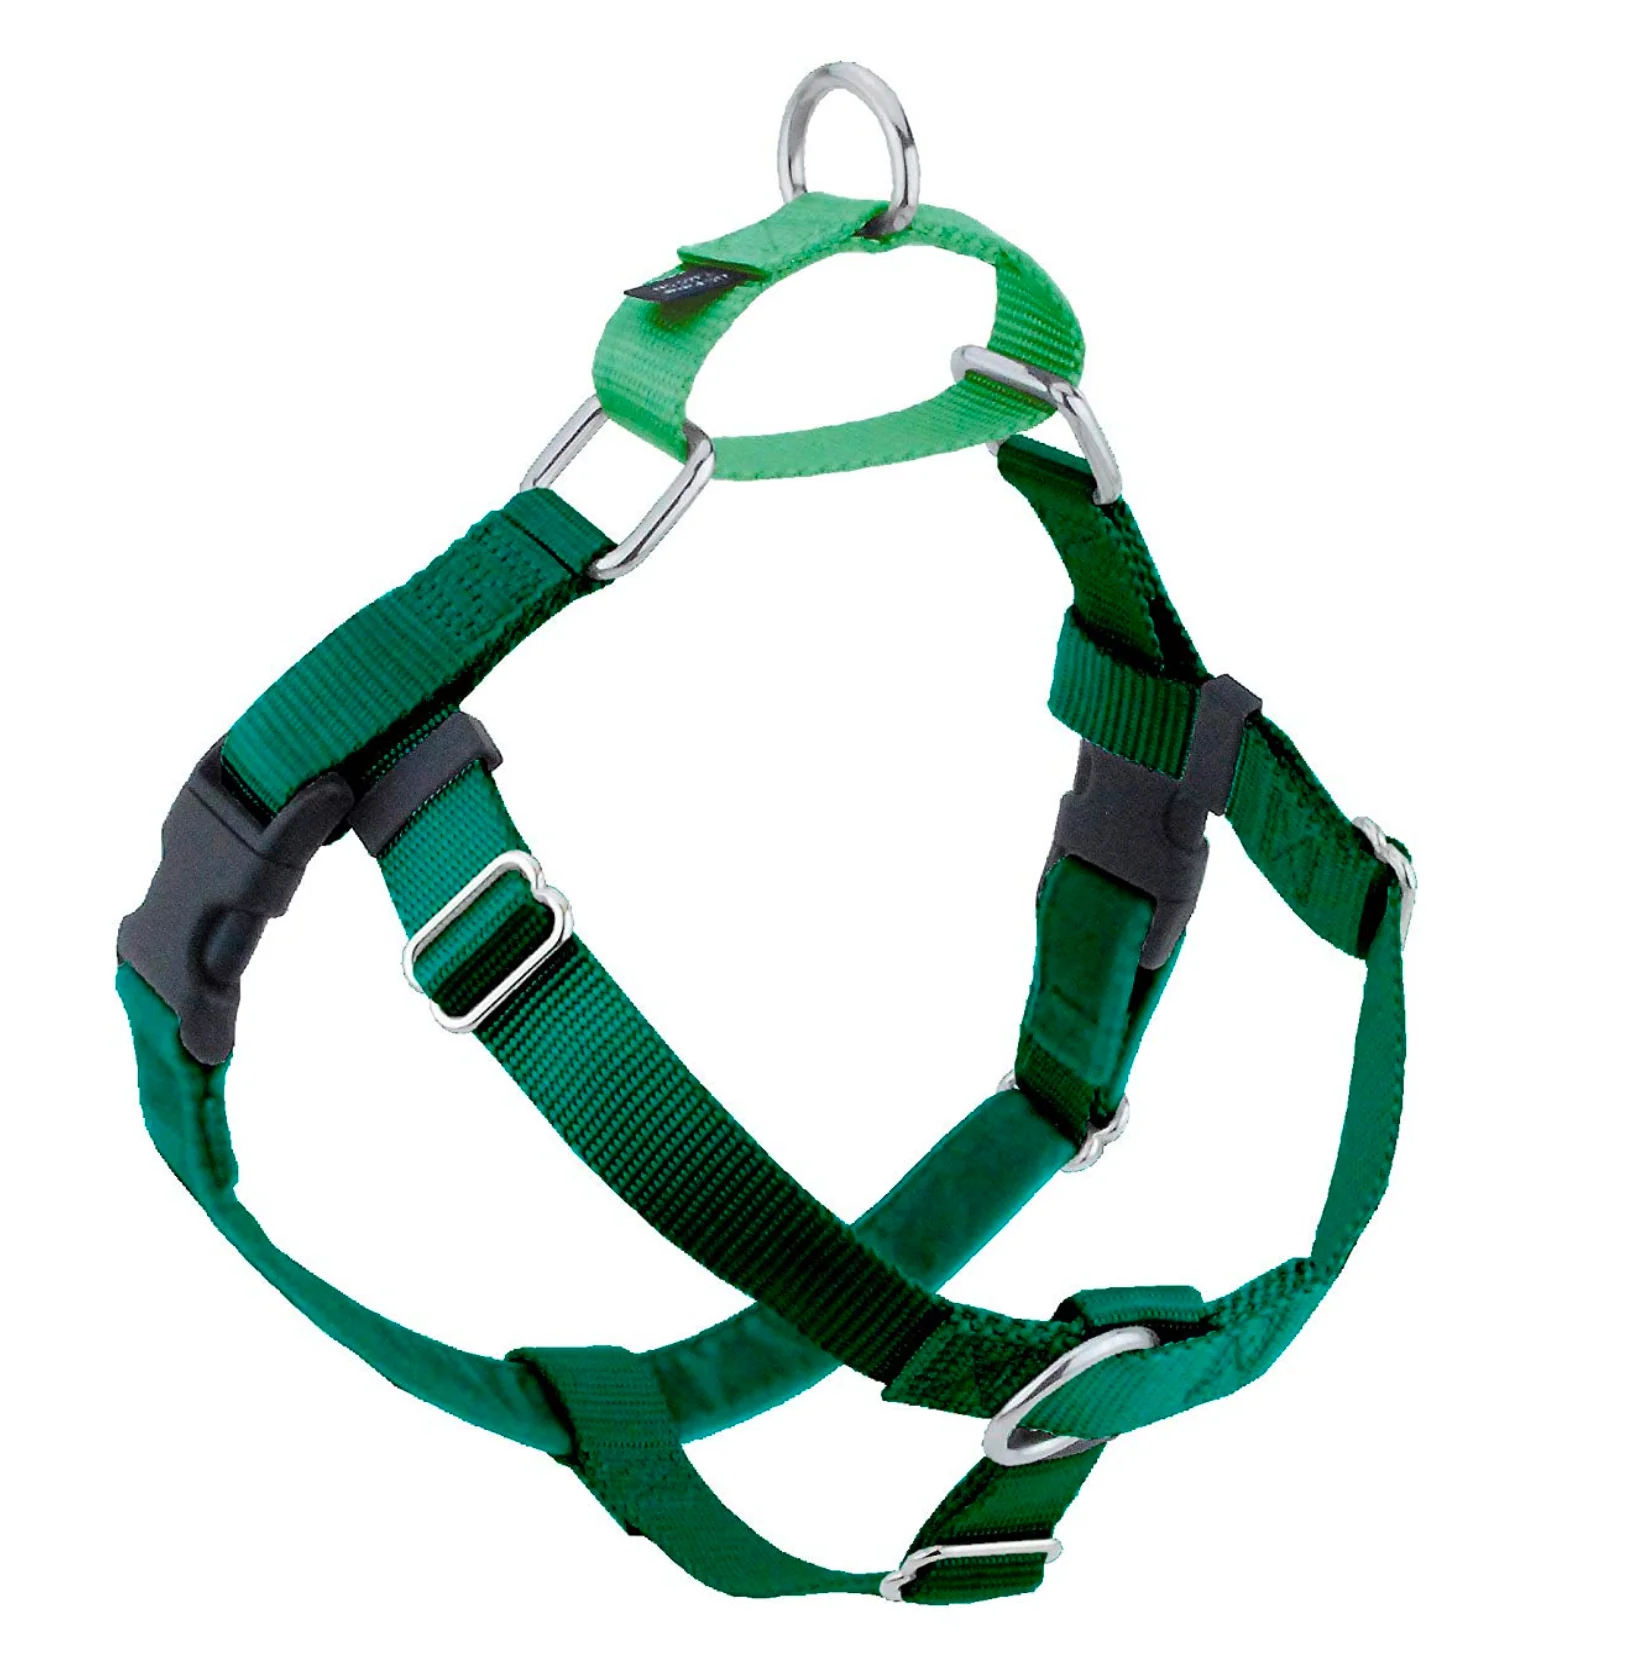
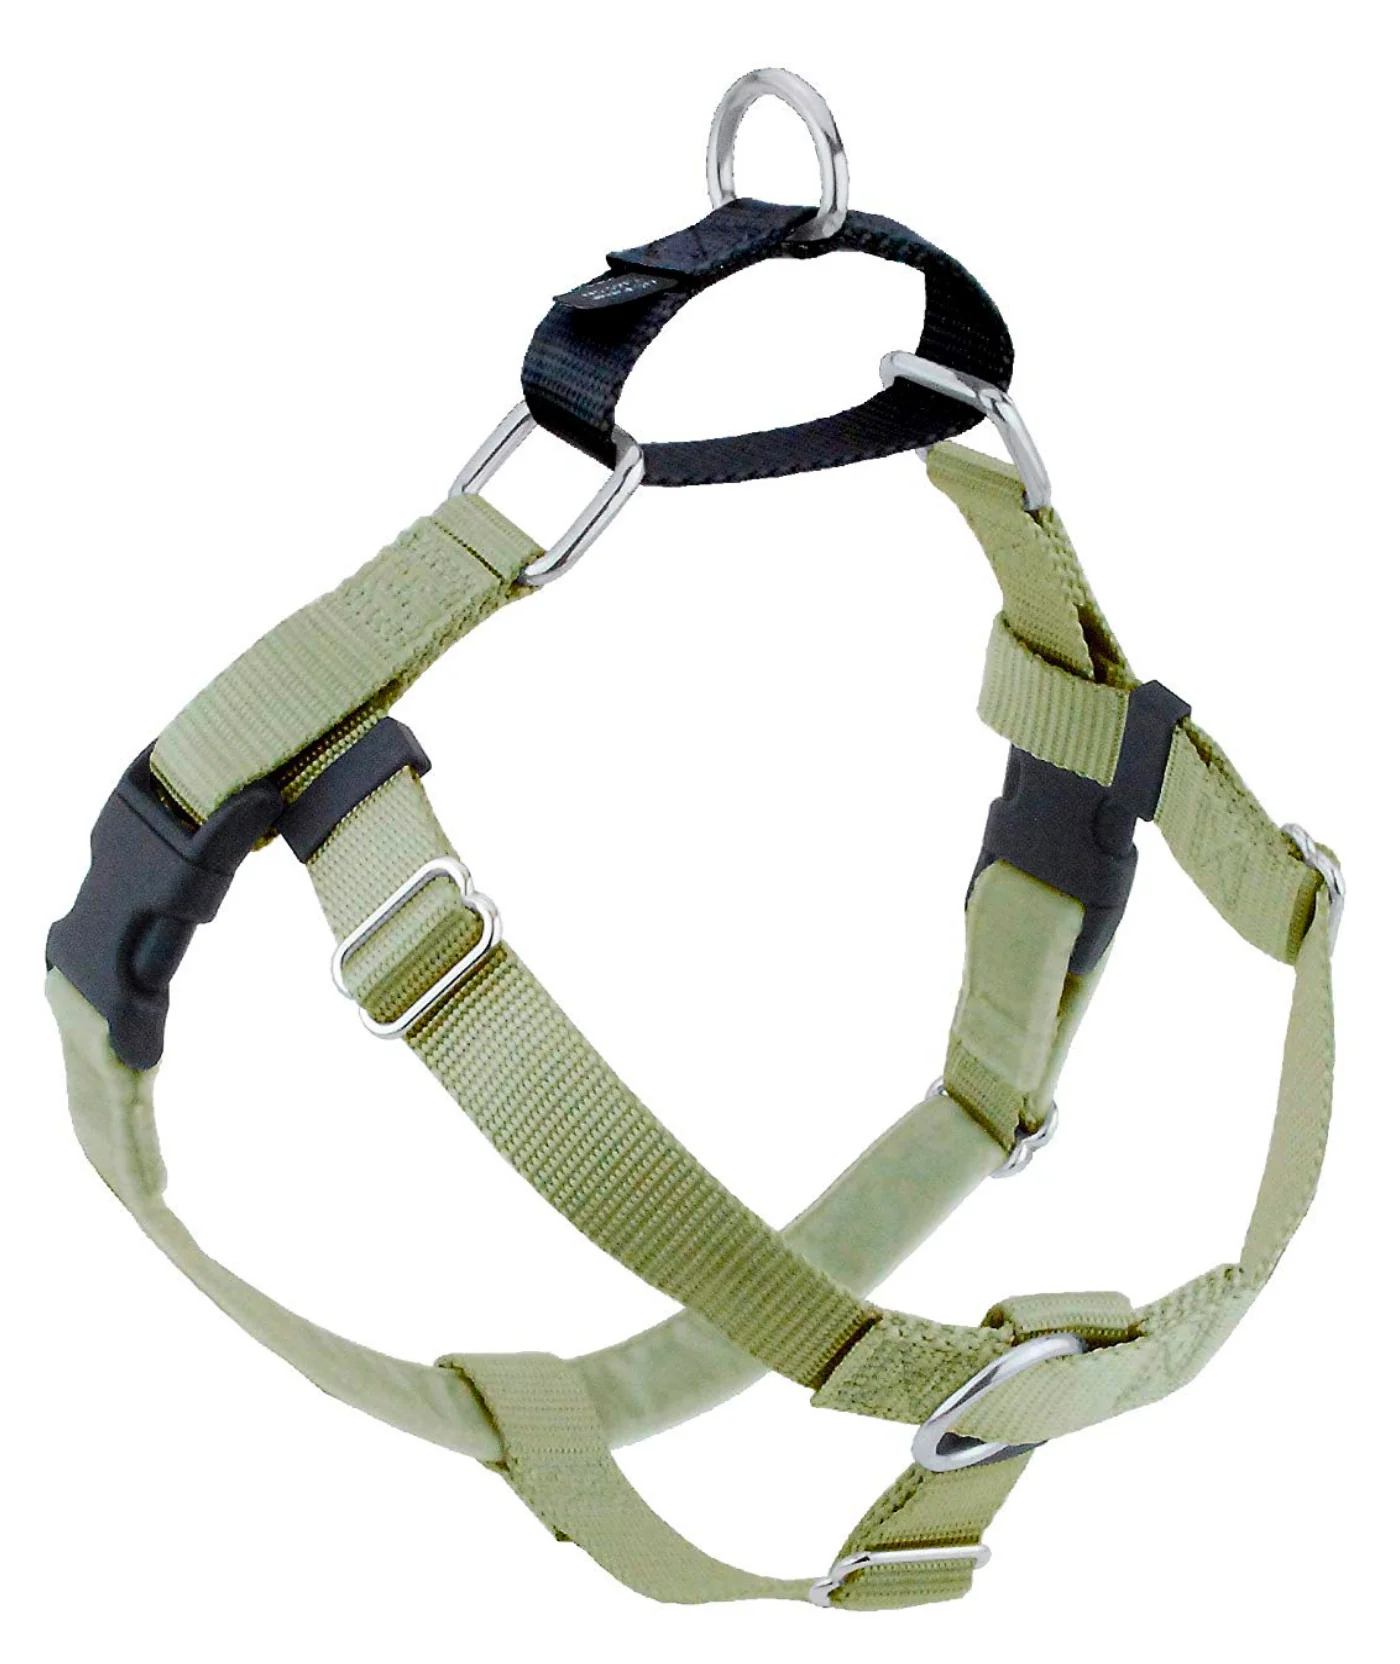
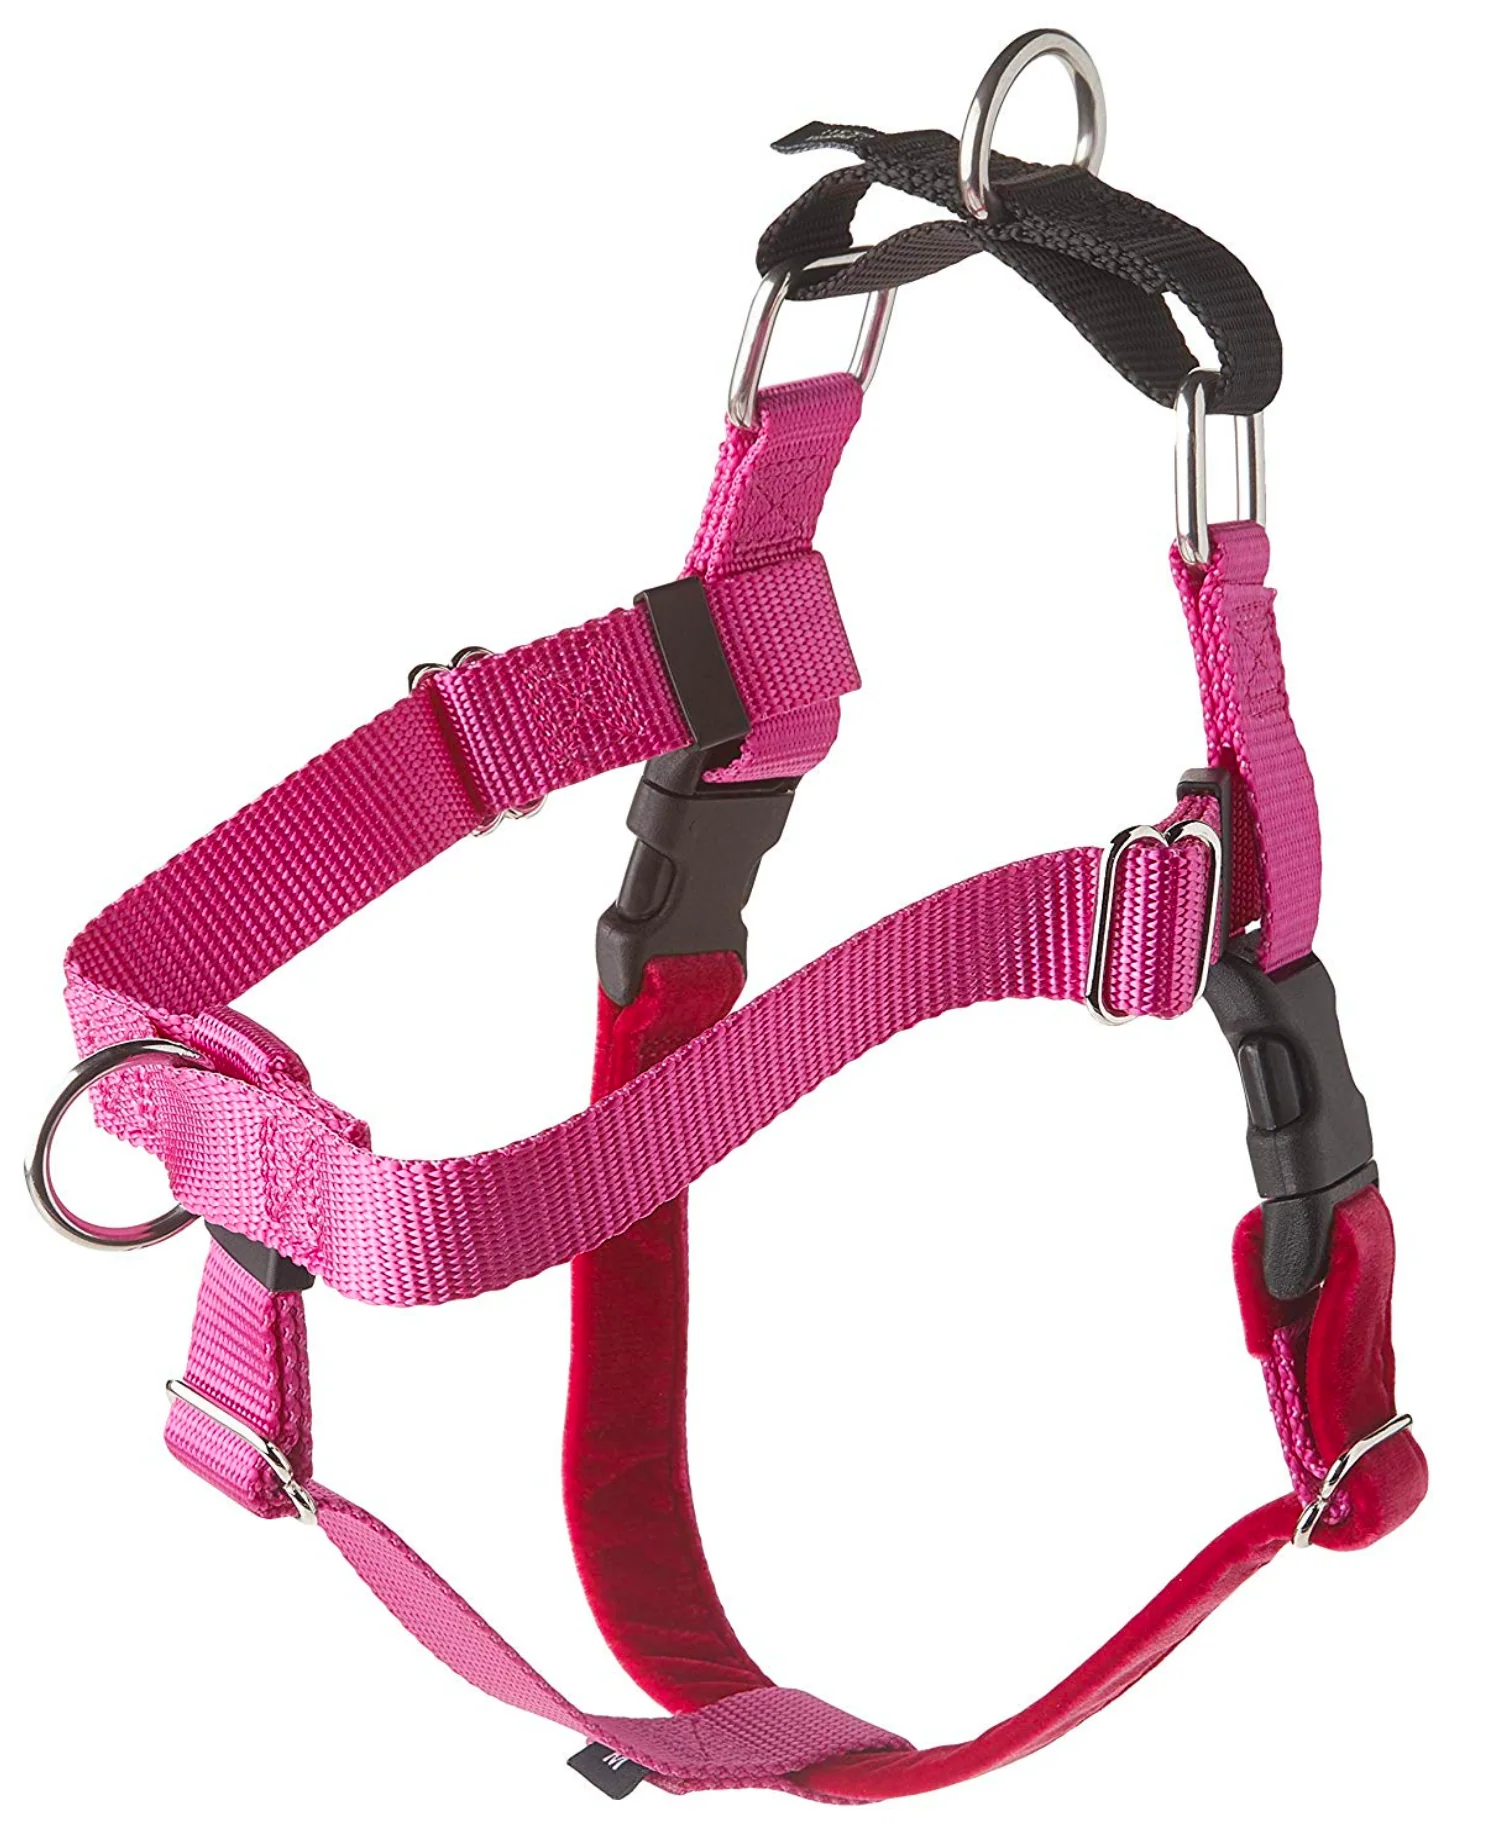
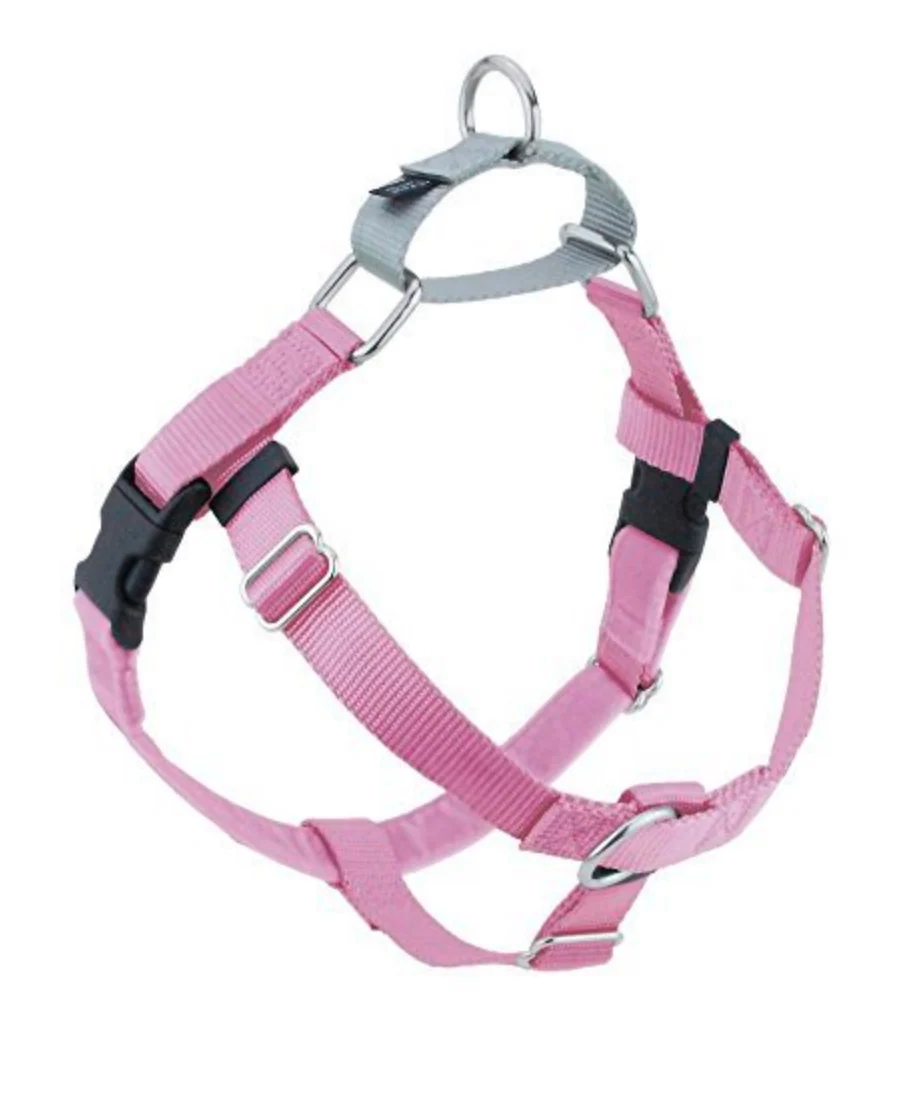
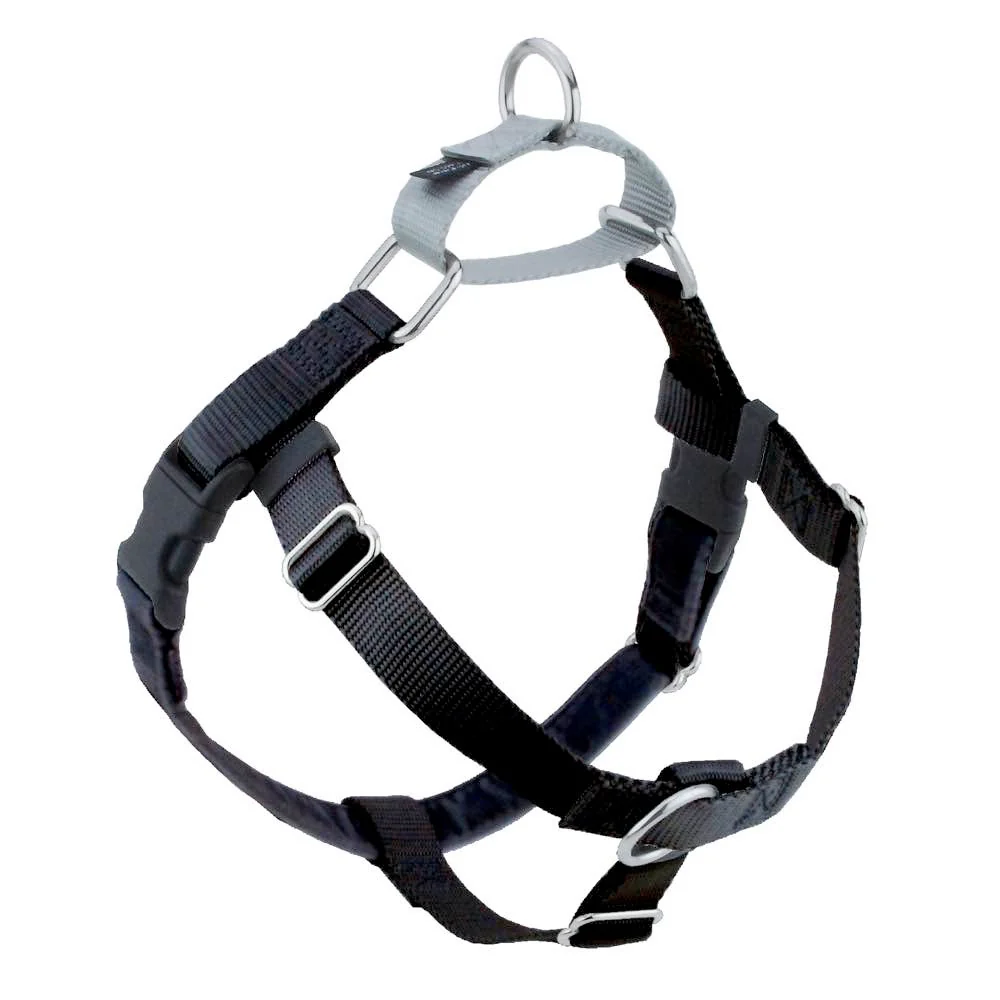
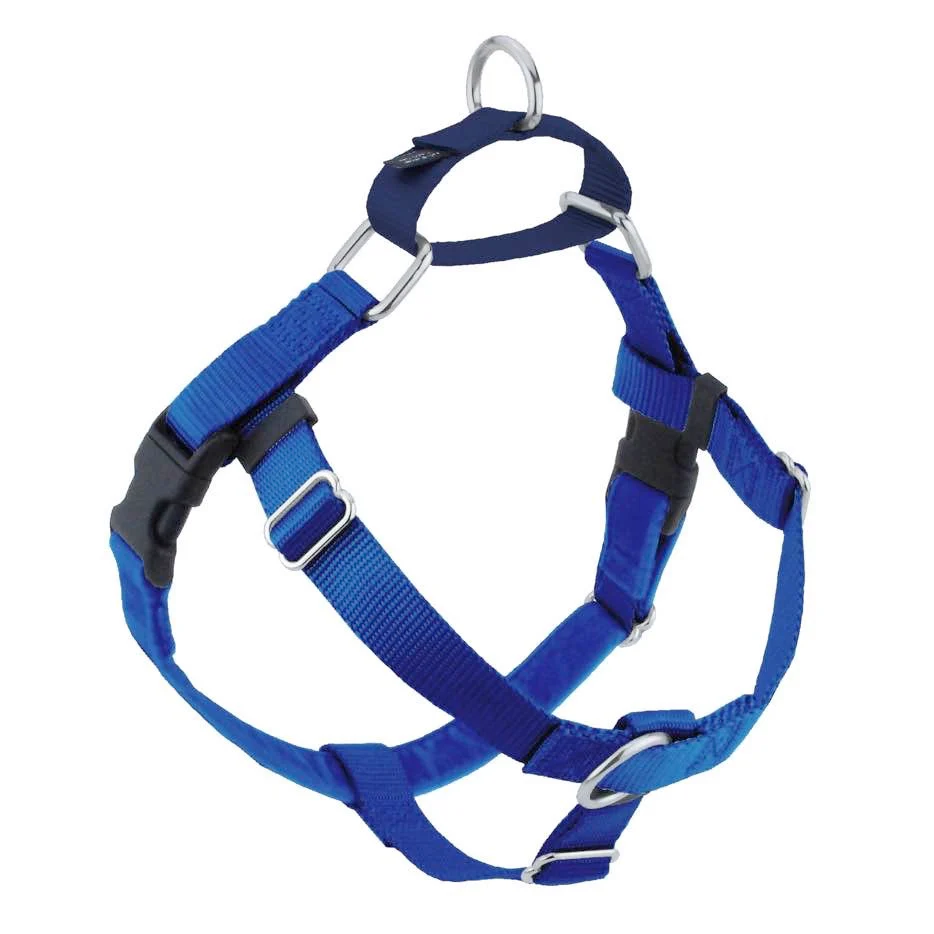
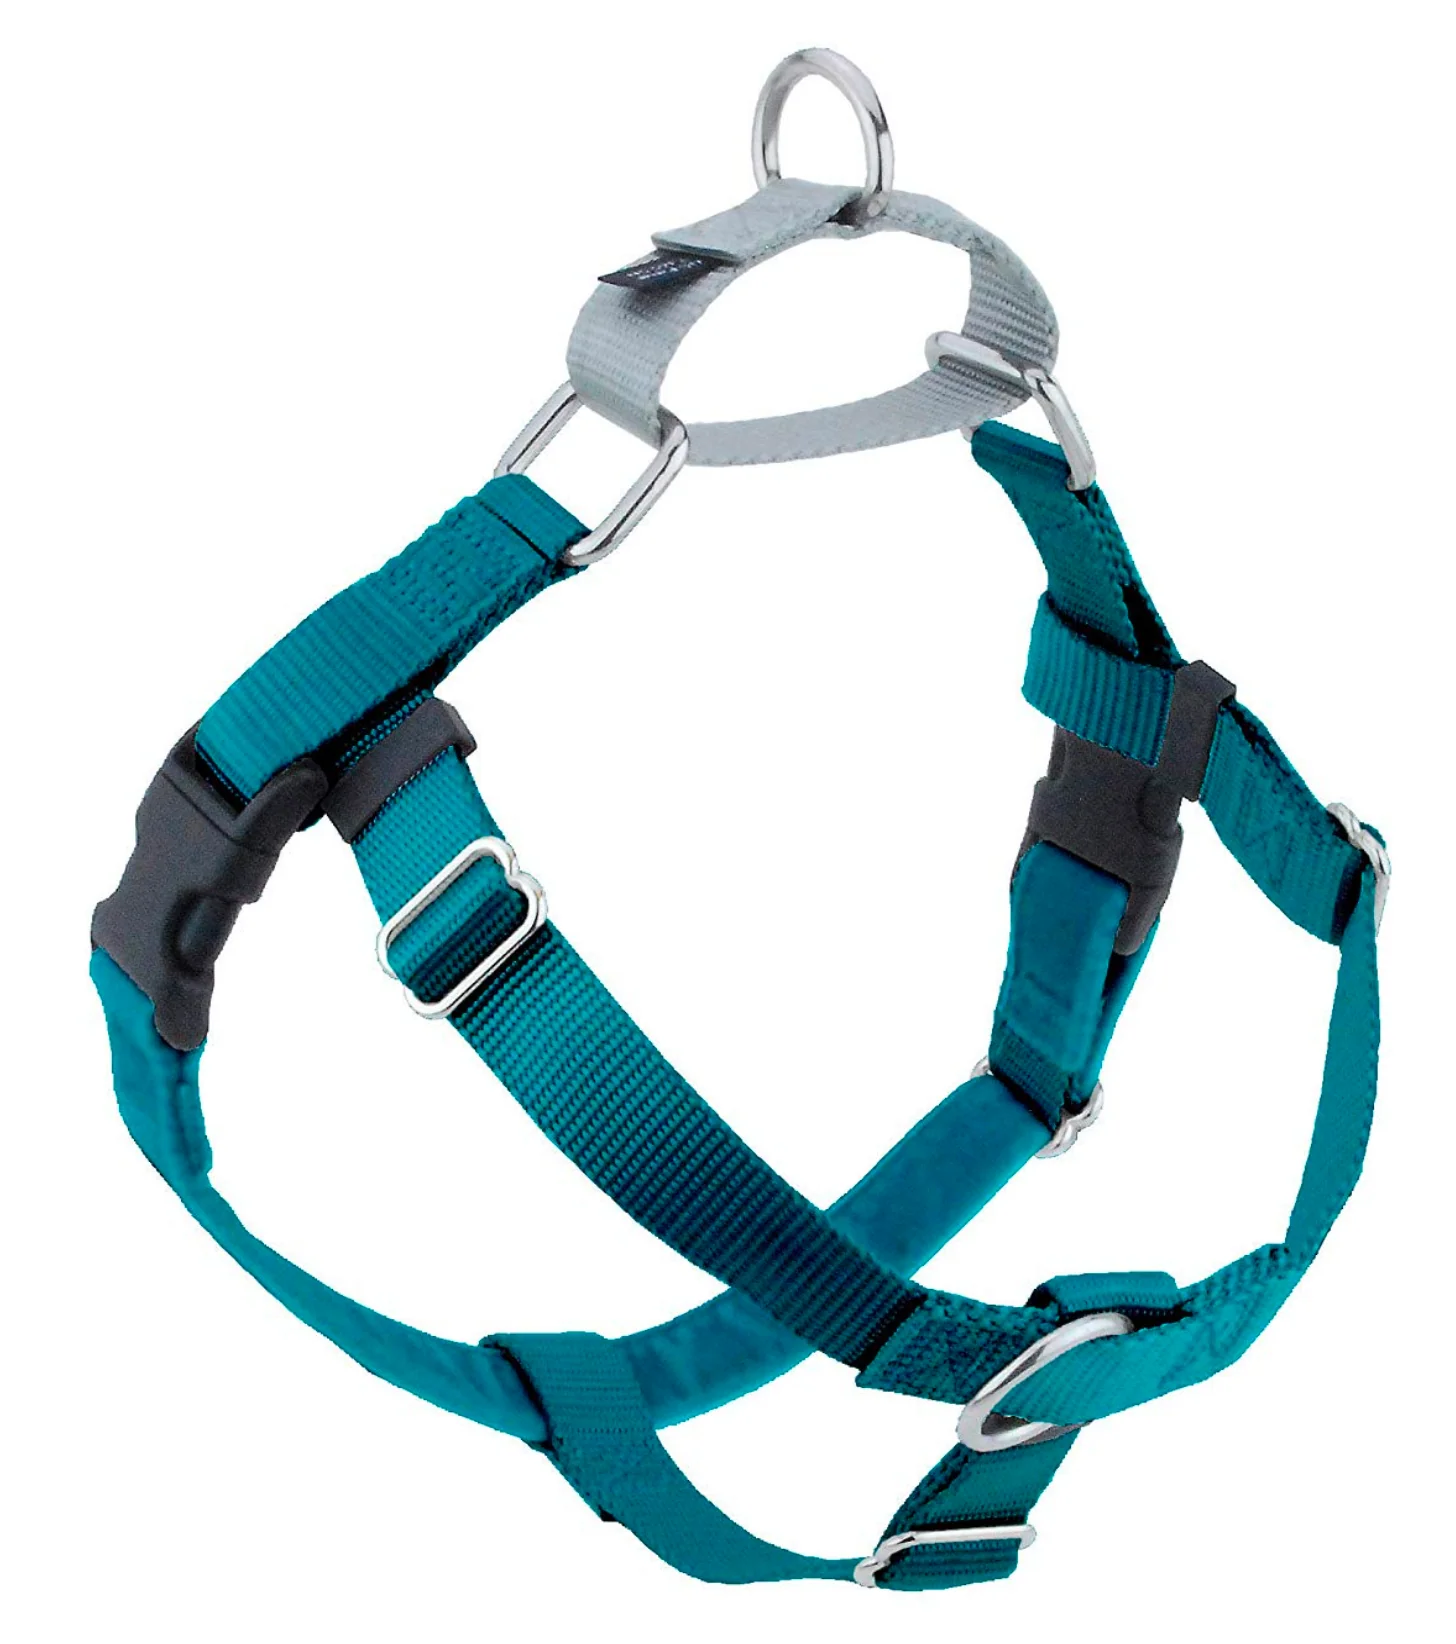
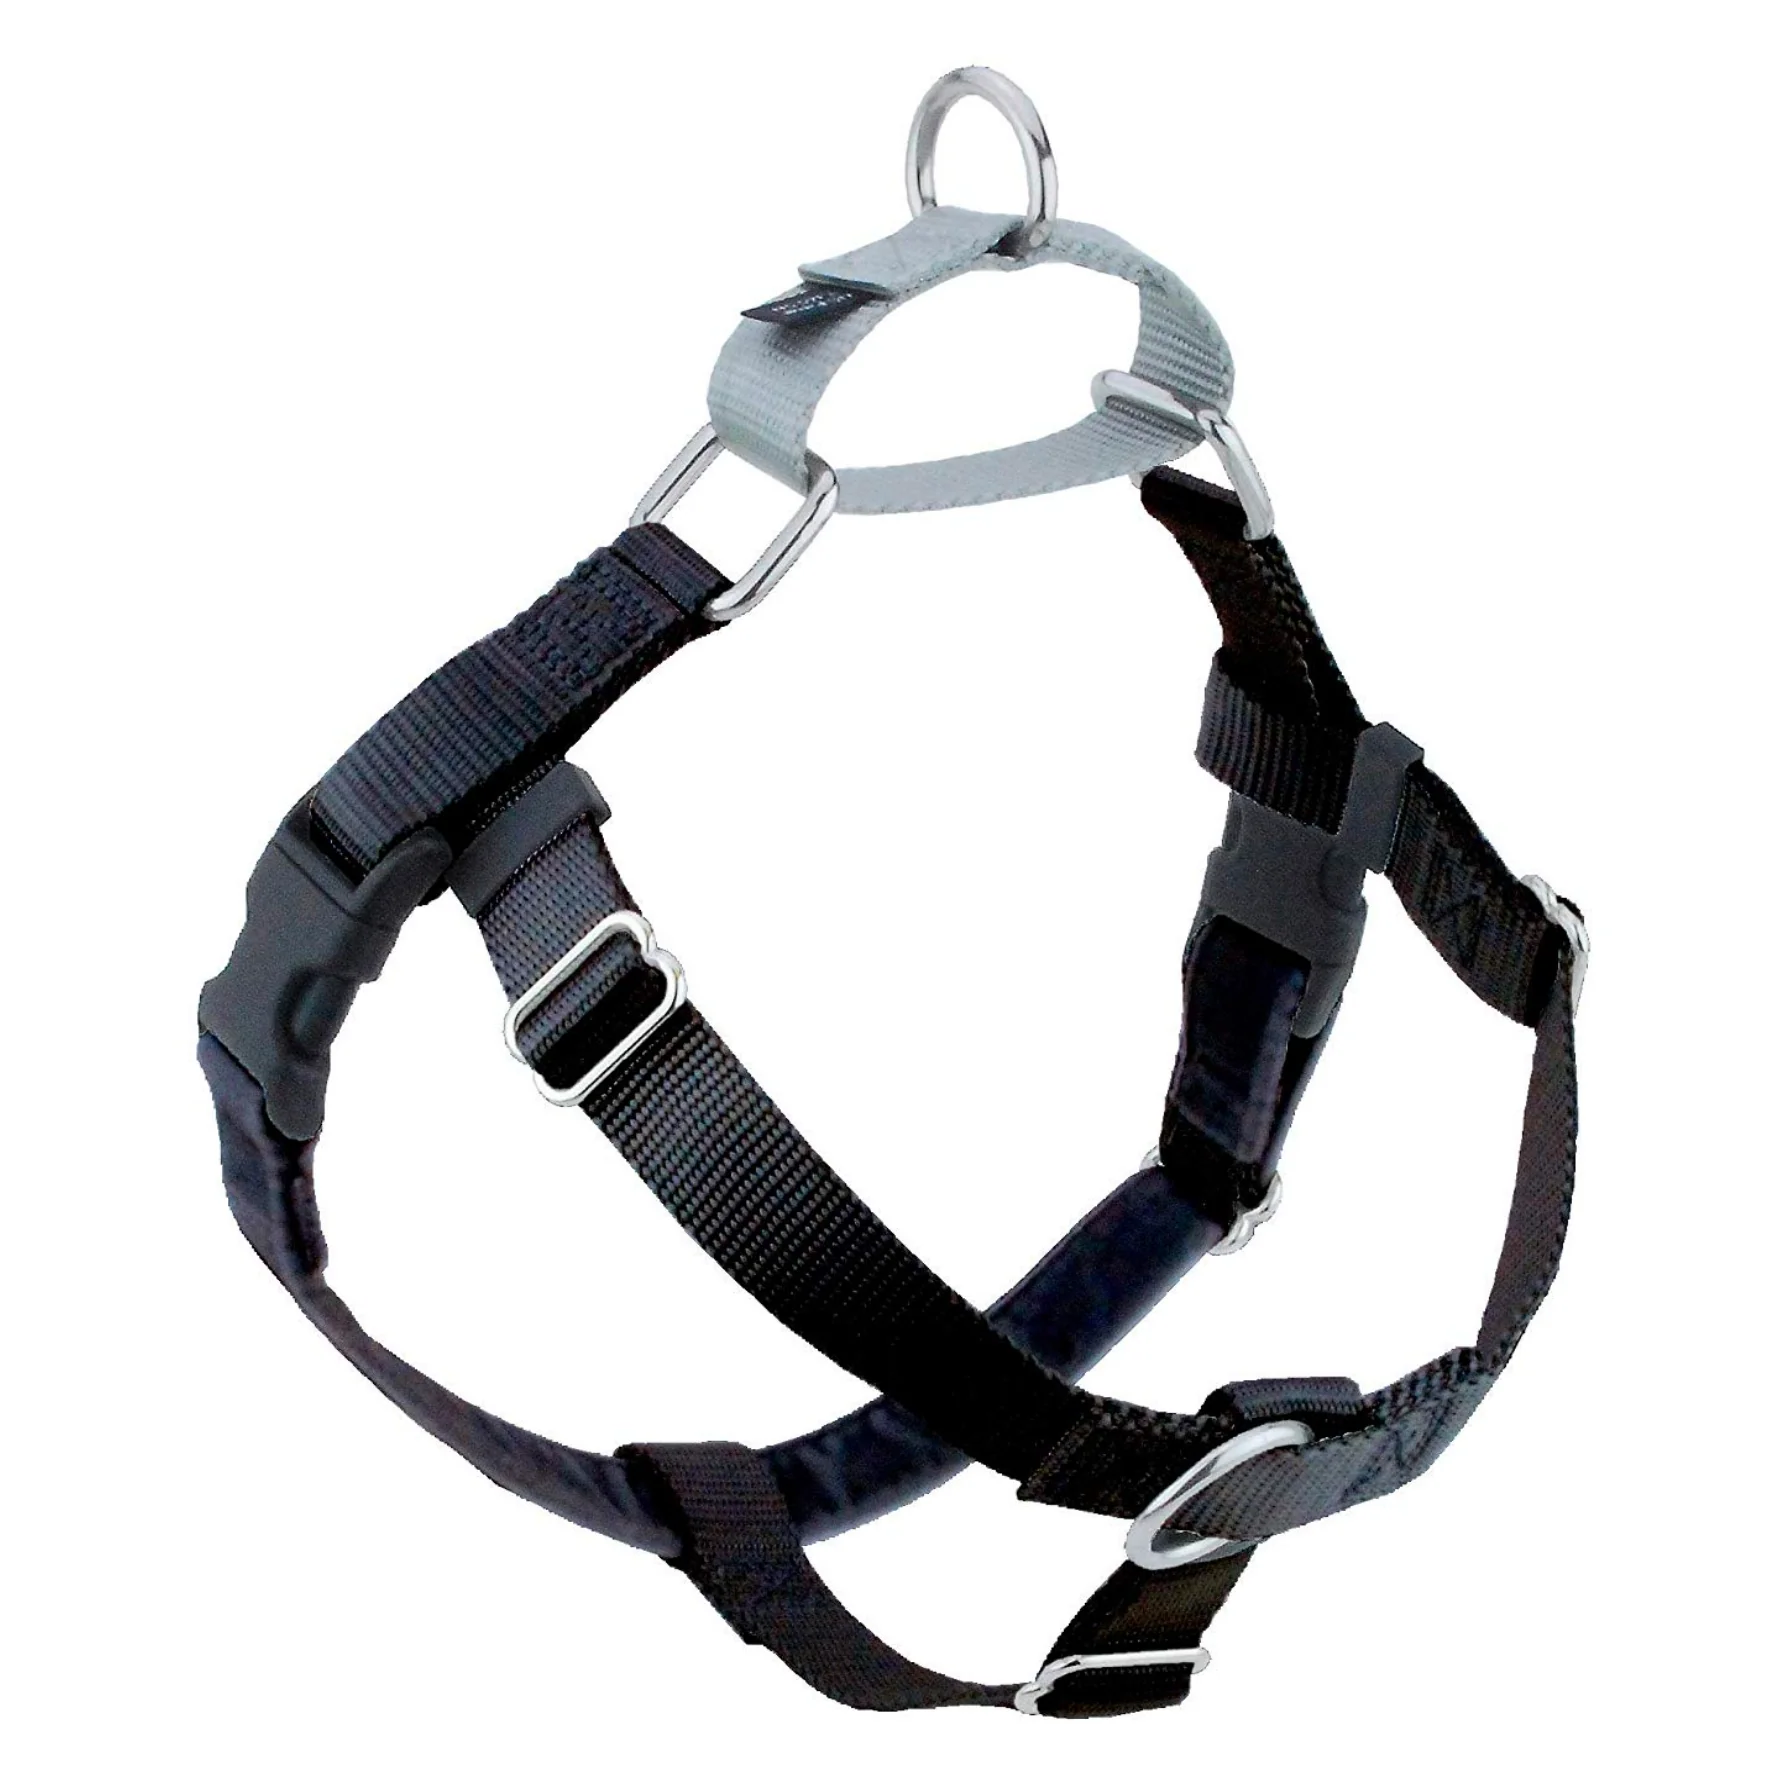
Make leash training a walk in the park with the 2 Hounds Design Freedom No Pull Dog Harness. The patented design works by discouraging what’s known as the “opposition reflex,” which is the reflex that encourages dogs to pull against pressure caused by traditional harnesses. The harness is made with stainless steel hardware and four adjustment points to ensure that it is more than strong enough to hold any size dog, from 14 lbs all the way up to 250+ lbs. The chest strap is lined with Swiss Velvet, which helps prevent rubbing and chaffing sores behind the legs and the straps are all turned out to prevent sores and raw spots along the seams. Dual Connection makes it easy to walk your dog! This harness also features a structural ring on the front of the harness. Connecting to this ring is Optional but it does allow you to connect to the front and back of the harness simultaneously. The main connection on the back of the harness tightens gently around the chest to discourage pulling behavior, while the connection on the front of the harness allows you to redirect your dog's attention back to you for training and treats.
To measure for the harness, use a soft measuring tape (or a piece of string) and measure all the way around the LARGEST part of your dog's chest (right behind the front legs). Choose the SMALLEST size that fits within that measurement. So, for example, if your dog has a 28" chest, we recommend the size Medium for the best fit. if the measurement is 24 inches, we recommend the Small, rather than the Medium.
Details & Craftsmanship
Every detail has been carefully considered to bring you the perfect product.

Details & Craftsmanship
Every detail has been carefully considered to bring you the perfect product.
Details & Craftsmanship
Every detail has been carefully considered to bring you the perfect product.
Details & Craftsmanship
Every detail has been carefully considered to bring you the perfect product.

Details & Craftsmanship
Every detail has been carefully considered to bring you the perfect product.

Details & Craftsmanship
Every detail has been carefully considered to bring you the perfect product.
Details & Craftsmanship
Every detail has been carefully considered to bring you the perfect product.

Details & Craftsmanship
Every detail has been carefully considered to bring you the perfect product.
Details & Craftsmanship
Every detail has been carefully considered to bring you the perfect product.
Details & Craftsmanship
Every detail has been carefully considered to bring you the perfect product.

Details & Craftsmanship
Every detail has been carefully considered to bring you the perfect product.

Details & Craftsmanship
Every detail has been carefully considered to bring you the perfect product.
Details & Craftsmanship
Every detail has been carefully considered to bring you the perfect product.

Details & Craftsmanship
Every detail has been carefully considered to bring you the perfect product.

Details & Craftsmanship
Every detail has been carefully considered to bring you the perfect product.

Details & Craftsmanship
Every detail has been carefully considered to bring you the perfect product.

Details & Craftsmanship
Every detail has been carefully considered to bring you the perfect product.

Details & Craftsmanship
Every detail has been carefully considered to bring you the perfect product.

Details & Craftsmanship
Every detail has been carefully considered to bring you the perfect product.

Details & Craftsmanship
Every detail has been carefully considered to bring you the perfect product.

Details & Craftsmanship
Every detail has been carefully considered to bring you the perfect product.

Details & Craftsmanship
Every detail has been carefully considered to bring you the perfect product.

Details & Craftsmanship
Every detail has been carefully considered to bring you the perfect product.
Details & Craftsmanship
Every detail has been carefully considered to bring you the perfect product.

Details & Craftsmanship
Every detail has been carefully considered to bring you the perfect product.

Details & Craftsmanship
Every detail has been carefully considered to bring you the perfect product.

Details & Craftsmanship
Every detail has been carefully considered to bring you the perfect product.
Details & Craftsmanship
Every detail has been carefully considered to bring you the perfect product.
Details & Craftsmanship
Every detail has been carefully considered to bring you the perfect product.

Details & Craftsmanship
Every detail has been carefully considered to bring you the perfect product.
Details & Craftsmanship
Every detail has been carefully considered to bring you the perfect product.

Details & Craftsmanship
Every detail has been carefully considered to bring you the perfect product.

Details & Craftsmanship
Every detail has been carefully considered to bring you the perfect product.
Details & Craftsmanship
Every detail has been carefully considered to bring you the perfect product.

Details & Craftsmanship
Every detail has been carefully considered to bring you the perfect product.

Details & Craftsmanship
Every detail has been carefully considered to bring you the perfect product.

Details & Craftsmanship
Every detail has been carefully considered to bring you the perfect product.
Details & Craftsmanship
Every detail has been carefully considered to bring you the perfect product.

Details & Craftsmanship
Every detail has been carefully considered to bring you the perfect product.

Details & Craftsmanship
Every detail has been carefully considered to bring you the perfect product.

Details & Craftsmanship
Every detail has been carefully considered to bring you the perfect product.
Details & Craftsmanship
Every detail has been carefully considered to bring you the perfect product.

Details & Craftsmanship
Every detail has been carefully considered to bring you the perfect product.

Details & Craftsmanship
Every detail has been carefully considered to bring you the perfect product.

Details & Craftsmanship
Every detail has been carefully considered to bring you the perfect product.
Details & Craftsmanship
Every detail has been carefully considered to bring you the perfect product.
Details & Craftsmanship
Every detail has been carefully considered to bring you the perfect product.
Description
Description:
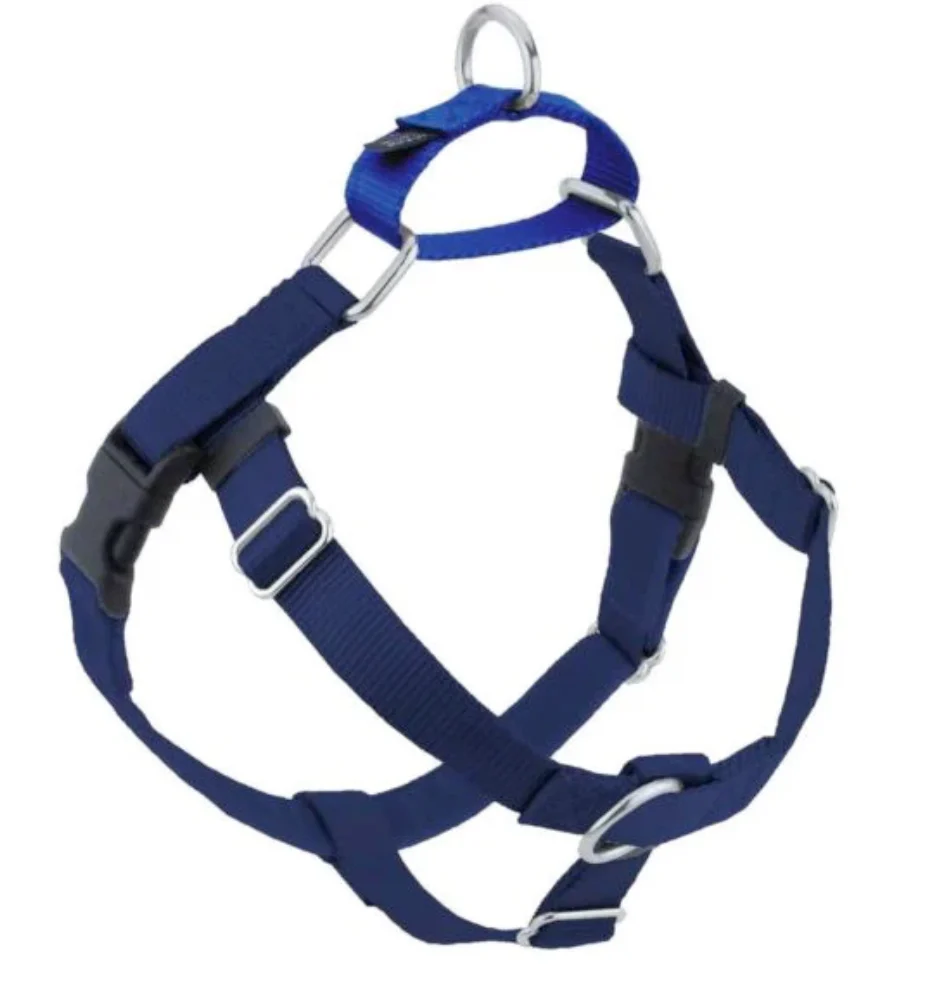
Make leash training a walk in the park with the 2 Hounds Design Freedom No Pull Dog Harness. The patented design works by discouraging what’s known as the “opposition reflex,” which is the reflex that encourages dogs to pull against pressure caused by traditional harnesses. The harness is made with stainless steel hardware and four adjustment points to ensure that it is more than strong enough to hold any size dog, from 14 lbs all the way up to 250+ lbs. The chest strap is lined with Swiss Velvet, which helps prevent rubbing and chaffing sores behind the legs and the straps are all turned out to prevent sores and raw spots along the seams. Dual Connection makes it easy to walk your dog! This harness also features a structural ring on the front of the harness. Connecting to this ring is Optional but it does allow you to connect to the front and back of the harness simultaneously. The main connection on the back of the harness tightens gently around the chest to discourage pulling behavior, while the connection on the front of the harness allows you to redirect your dog's attention back to you for training and treats.
To measure for the harness, use a soft measuring tape (or a piece of string) and measure all the way around the LARGEST part of your dog's chest (right behind the front legs). Choose the SMALLEST size that fits within that measurement. So, for example, if your dog has a 28" chest, we recommend the size Medium for the best fit. if the measurement is 24 inches, we recommend the Small, rather than the Medium.